I still haven't found a kitchen floor plan to refer to...so I guess I will have to design my own without any kitchen plan reference (I will try to use the other floor plans)


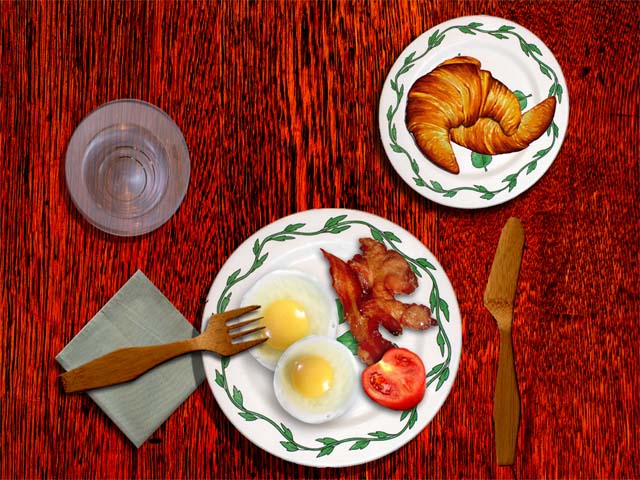
 For the two croissants I simply used the magnetic tool since teh edgs are roun and soft enough, and the background is light and plain, it doesn't get mixed with the croissant.
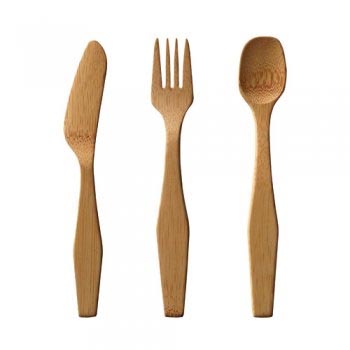
  To select the knife I first used the magnetic tool, then after pasting it on the montage, I looked very closely and realized that it ad somehow selected the white edges as well, so I tried to clean the white edges using the eraser tool, it didn't come out as expected, it gave the knife edges a wobbly look.
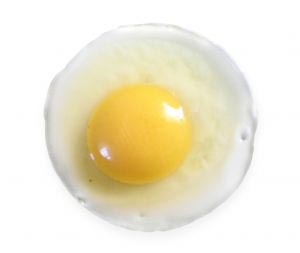
 Magnetic tool- sure this egg is not round round (in a soft kind of way), but it's somehow round and you expect it to blend in the background, (and your conclusion the magnetic tool should not be used) but thank goodness it has an inner shadow applied to it, a shadow that seperates it from the background, that's why I was able to use the magnetic tool this time around.
The second egg, !)Transform 2)Rotate . (check out the final montage to see what I mean).
 Same technique used for the bacon pieces, simply had to select the cut tomato in quick mask mode (Again my first idea was to use the magnetic tool but it kept on selecting the tomato shadow, giving it a weird angle look instead of a round one =)-same problem happened with the napkin, the shadow has greyish reddish colour that is too close to the tomato to be selected with the magnetic tool)
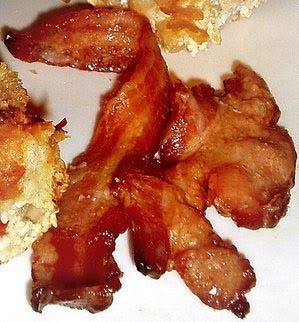 To select this object, I had to use the quick masking tool, After using this tool I actually had to save the selection, in order to load it again (In case I need to clean up the edges of the bacon a little bit more).
(The first idea that jumped to my mind was to use the magnetic tool again, because the edges were round, and the background light but I realized that I didn't want to select the whole bacon, and all the pieces seem connected at some point, so the solution was to select the pieces I wanted in quick mask mode and to leave the bits I didn't want out using the same method- Just had to invert the foreground and background colors Black and white).
Black for background and white for foreground.

 polygonal lasso tool because of the sharp edges. (I was very tempted to use the magnetic tool, but this tool is much better round and soft edges rather than sharp ones).